

Build vs Buy 2026 Guide Custom CRM vs Off-the-Shelf CRM: Build or Buy AI made it possible to build a vibe-coded CRM quickly. That changed how many teams build, not whether they should. Here is the real math on the cost, security, compliance, and flexibility of creating a custom CRM,
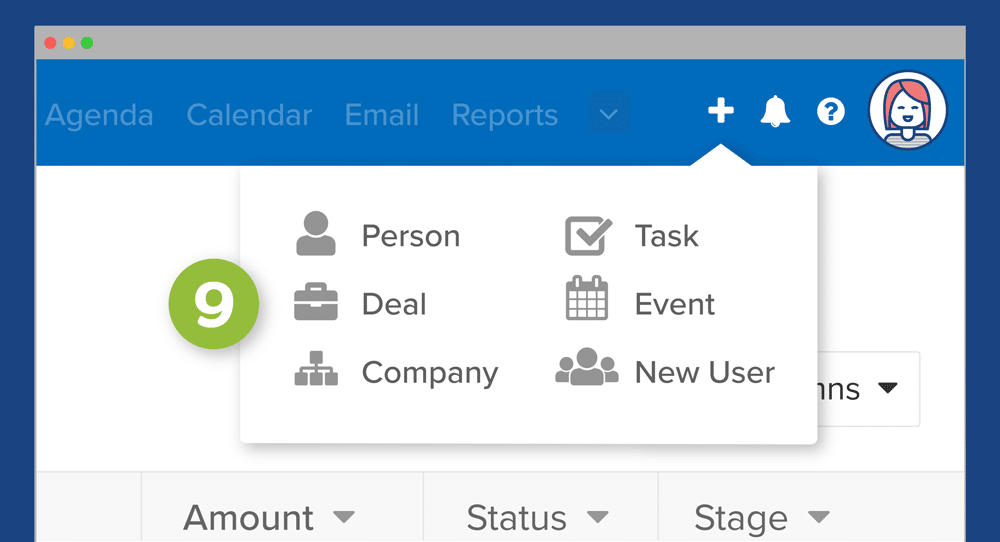
Buyer’s Guide 2026 Edition The 10 best pipeline CRMs of 2026 An honest, ranked guide to the top pipeline management tools for B2B sales teams in 2026, evaluated on visual pipeline depth, automation, mobile, integrations, support quality, and price per user. Built by a CRM company that lists itself second.

Buyer’s Guide 2026 Edition The 10 best field sales CRMs of 2026. A ranked guide to the CRM and field sales platforms outside reps, door-to-door teams, and route-based sales orgs actually use, evaluated on territory mapping, route optimization, mobile workflow, G2 support ratings, and pricing transparency. YG Yuriy Golovko ·